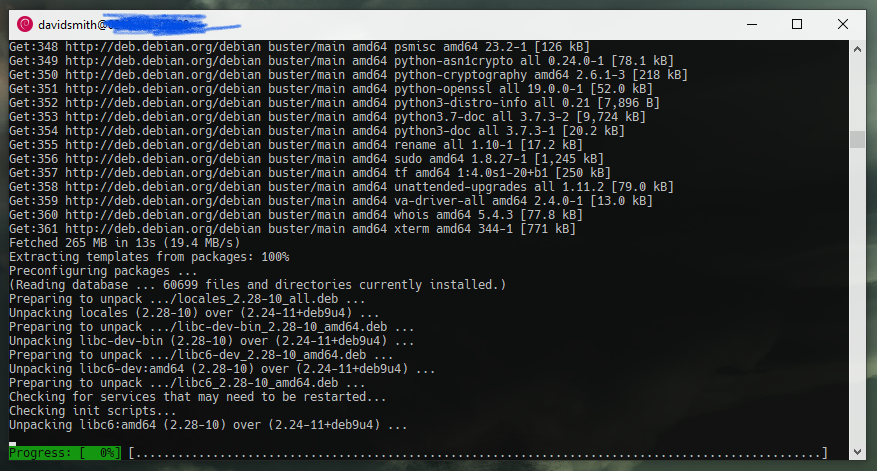
While Windows Subsystem for Linux (WSL) isn’t perfect, it’s coming along nicely as a replacement for many of the Unix-y things I used to do with Cygwin. And since most of my server work involves Linux as opposed to generic *nix, it’s nice to have handy access to something that more closely resembles my work environment.
Just a few days ago, the Debian project announced “Buster,” the first major upgrade in a couple years. (If you want to be boring, it’s also “Debian 10.0”.) As of this writing, the Microsoft app store doesn’t have Buster ready-to-go. And even if it did, there’s not a super-clean way to migrate any custom work, home directories, etc. from an old Debian installation to a new one. So here, I throw caution to the wind and update my existing Debian WSL installation from “Stretch” (9.x) to Buster.
The “full” Debian upgrade documentation is here, and is pretty comprehensive, but doesn’t address this specific edge case (WSL is still fairly young and fairly niche). If anything weird happens, restore the backup you’re about to make then try again later after doing some homework.
First: MAKE A BACKUP. Close any running WSL windows. Open an administrative PowerShell window and run wsl --export Debian debian9.tar (or similar). This will create a tar file wherever you are that backs up your existing WSL installation, including your home directory, installed non-default packages, etc. (By default, PowerShell admin windows open in C:\Windows\System32 — you may want to put this backup on your Desktop, or otherwise in a more intuitive place.) Should you later need to restore from that backup, wsl --import is probably where you need to start.
Second: Launch your Debian install, and make sure your existing WSL Debian installation is up-to-date, with the standard sudo apt-get update && sudo apt-get upgrade (or use your favorite other .deb handling tools). This may not be strictly necessary but it’s safe and nice.
Third: Edit /etc/apt/sources.list and replace every instance of “stretch” with “buster”. There will be about a half-dozen of them.
Fourth: Run sudo apt-get update && sudo apt-get upgrade. This will do a first-stage upgrade, which replaces some but not all packages. Cross your fingers, wave some incense over the laptop, then start the update.
Depending on the packages you have installed, there may be a few other prompts during the update process. (I was asked about restarting services, for instance.)
Fifth: Now, you’ll update the rest of the packages with sudo apt full-upgrade. The Debian update docs dig into the differences between the two commands, and explains why you probably shouldn’t skip Step 4 even though it’s possible to do so.

apt full-upgradeOn my work laptop (a couple years old, but reasonably specced with a mid-range SSD, ample Internet connectivity, and plenty of RAM), the upgrade process took about thirty minutes.
Sixth: Close your WSL window, then re-open. If all went well, you should now be living with the latest-and-greatest Debian.
The key takeaway for this, I think, is just the fact that you can use the wsl command-line tool to back up and restore your WSL installations. With that, it should be possible to do similar updates for most other WSL distros. (I don’t know if I’d recommend it for CentOS 8, when it comes out, because doing major updates on RHEL has always been tricky, and until 6-to-7 wasn’t even officially supported. But Ubuntu is probably fine, if you’re not already on 19.04. If you use something wacky like SLES, you’re on your own.
This worked! The only thing I had to do differently was use
sudo apt update
&
sudo apt dist-upgrade
instead of the apt-get commands you specified.
Thanks!
FYI If you do a fresh install of Debian from the Microsoft Store it will automatically be Debian 10 (buster)
Glad they finally updated the image in the store. 🙂
not that I had much doubt, but, same process works with bullseye. thanks!
As a final step, I recommend doing “apt-get autoremove” to remove obsolete packages. It’s not necessary, but it will save a little disk space and, more importantly, it will keep your system’s complexity lower, which makes future maintenance more tractable.